Attics are one of the neglected spaces in the our homes....an afterthought really. Many trusses are designed the same way they were years ago. There is no thought put into the lack of insulation above the top plate on exterior walls. Heeled trusses were developed as a solution to this problem (https://www.apawood.org/raised-heel-trusses). Adding a small heel enables deeper insulation over the top plate of exterior walls and helps prevent thermal short circuiting to and from the attic space. It seems that heel trusses may become a mainstay for the future since new code changes now required attics to be a minimum of R50. Large heels mean more blocking and higher baffles to combat the effects of wind washing on the thermal effectiveness of the attic insulation. The key here is to direct any wind (entering the attic through the soffit) far above the layer of insulation. The air contained in the insulation remains stagnant which maintains the thermal effectiveness.
Adding insulation to an attic is pretty cost effective...even for a Passive House. There are several blown-in choices available in our local market. Namely, cellulose and fiberglass. At about R3.26/inch, cellulose seemed to give the best value for my dollars. The manufacturer (Thermocell) was able to provide and R-value based on the depth of insulation required. The fiberglass provider wasn't able to specify above R60 so it was going to be a matter of blowing in extra and crossing our fingers. Even if they extrapolated the depth required, the initial thickness was going to be higher than cellulose in order to account for settling. The cost of fiberglass is slightly higher than cellulose and would require higher baffles which would further increase the total cost of the installation. There are many more reasons for choosing cellulose (which I will explore in a future post) but the main point here is that I need lots!
Air sealing an attic hatch is not an easy task. Fortunately, my designer provided great details for the attic opening (Photo 1-1). Its basically an OSB box with a sloped end. The OSB box was framed between the attic trusses in the middle of the future hallway (framing the interior is yet to start). The box is about 32" high. At this height, it is able to hold back all that fluffy insulation and sits about 6" above the insulation level.
The attic hatch door will be 10" thick EPS insulation. Luckily enough, I have lots of 4" scrap left over from my foundation. I will probably make it 12" thick since I can then just stack 3 layers of 4". This being said, I had to plan ahead for the how the person entering the attic will deal with placement of the attic door. What I came up with is a landing at the top of the attic hatch opening (Photo 1-2) where the attic door can be placed when inspecting the attic.
With 26" deep insulation, its not going to be an easy task for the insulator to walk around in the attic so I had to think ahead about how to make their life easier when blowing the insulation. A catwalk supported by the trusses was easy to achieve with some scrap and some 2x4s (Photo 1-3). It runs about 32' along the length of the attic at a height of 32" above the attic deck below. It will be much safer than trying to navigate the attic while treading on truss webbing and pulling a large hose around. With the catwalk situated approximately in the center of the attic space, the insulator should be able to reach either side of the house with blown in insulation. It will also make future inspections much easier than walking around in 26" of insulation!

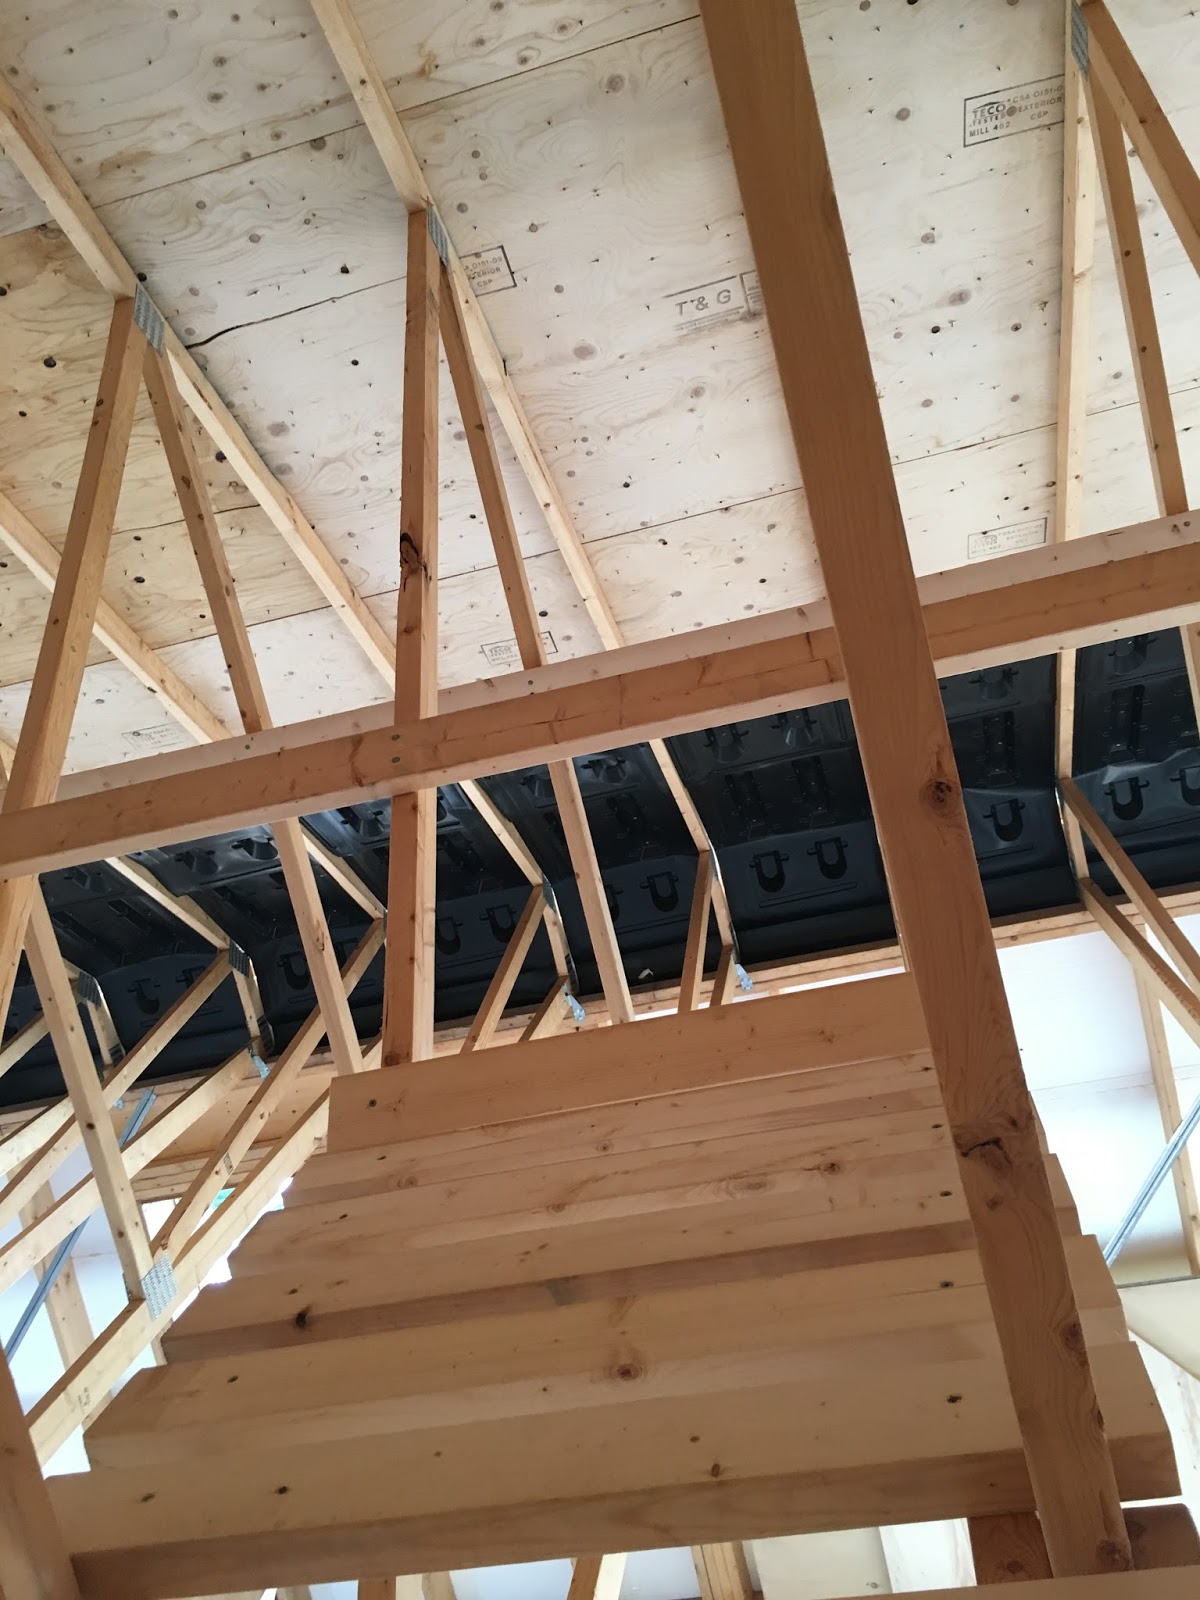
Photo 1-2

Comments
Post a Comment